The Sub surface scattering BSDF simulates the light scattering inside a material like the skin, the marble, a vegetable etc..
The Library/Materials/Surface shader includes a simple, flexible and stable SSS BSDF.
To achieve a translucence through a single polygon (like a paper sheet or leaves) use the User Guide/Shading/Translucence color.
Quick setup
Setup a skin shader
In the RenderGraph, add a RenderGraph/Preset/Skin node.
Set the Surface > Diffuse > Color with a skin texture or leave the default color.
Tweak the Surface > SSS > Width to achieve the desired waxiness.
Setup a single color scattering
In the RenderGraph, add a Materials/Surface node.
Set the Surface > SSS attribute to 1.0.
Set the Surface > SSS > Layer 1 Color to white.
Set the Surface > SSS > Layer 2 Weight to 0.0 to disable the second lobe.
Set the Surface > SSS > Layer 3 Weight to 0.0 to disable the third lobe.
Set the Surface > Diffuse > Color with your material main color.
Tweak the Surface > SSS > Width to achieve the desired waxiness.
Waxiness
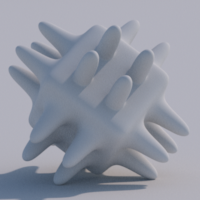
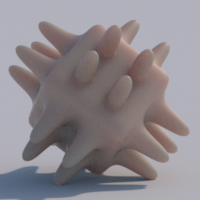
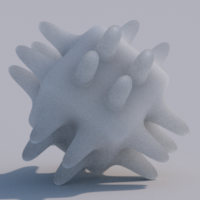
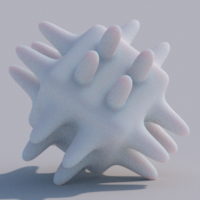
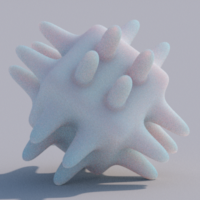
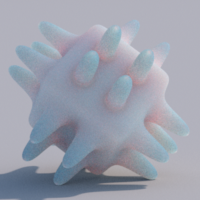
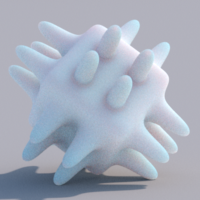
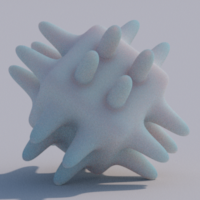
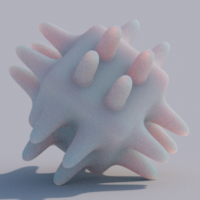
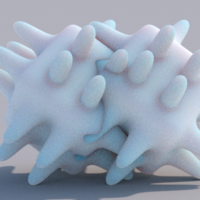
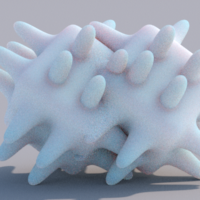
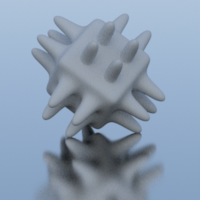
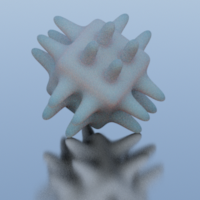
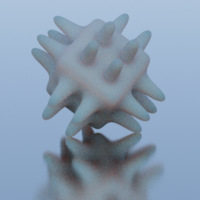
Unlike most BRDF, the SSS is dependent on the size of the objects. The Surface > SSS > Width attribute controls the global scale of the SSS BSDF.
With a small width, the SSS looks sharp, with a large width, it looks waxy.
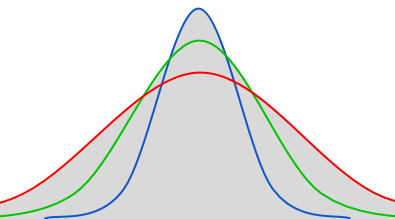
Multi gaussian blurring
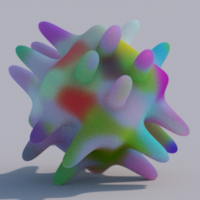
The SSS BRDF is achieve through a triple gaussian blur of the incoming light. Each gaussian lobe has its own color, width and weight. The Surface > SSS > Norm. Diffuse Color
attribute normalizes the result of the three gaussian lobes to guarantee the integral SSS color is white. The overall visible color is simply the Surface > Diffuse > Color.
The default SSS setup is composed of a large red lobe, a middle green lobe and a final sharp blue lobe.
Front and Back scattering
The SSS BSDF includes two controls to increase or decrease the front and back scattering.
The front scattering controls the amount of light scattering on the front of the surface.
The back scattering controls the amount of light scattering on the back of the surface.
To increase the SSS effect through the character ears, increase the Back Scattering.To stay energy conservative, keep the product Front Scattering*Back Scattering below 1.0. Not being energy conservative is ok though.
SSS Set
The Surface > SSS > Set attribute is the object User Guide/Scene Graph/Set in which the light can scatter. If this attribute is left empty,
the light will scatter only through the object itself.
Albedo blurring
The light scattering through the object is multiplied by a mix between the input and output surface diffuse colors.
The attribute Surface > SSS > Blur controls this mix and makes the diffuse color texture more or less blurry.
Approximation Depth
To save some render time, the SSS can be approximated after one or more bounces by a diffuse BRDF using the Surface > SSS > Approximation Depth.
Additional resources
The Library/Materials/Surface shader for details.The User Guide/Shading/Translucence section.